This guide is highly detailed. Click your role below if you just want that TLDR version:
![]()
![]()
![]()
Sections:
- What the mechanics are
- When they happen
- How to do them (the strat)
- Other tips
What
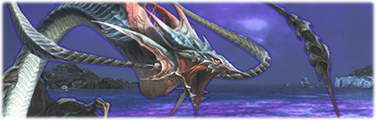
This fight’s main mechanic is the boss’s dive combos. Throughout the fight, he will disappear and use Spinning Dive(s), then reappear with Body Slam.
- Spinning Dive: Line AoE with knockback. Does ~80% HP to squishies. Inflicts a 2min vuln stack (Water Resistance Down)
- Body Slam: Invisible line AoE. Does ~80% HP to squishies. Tilts the arena, knocking everyone towards that side
Phase 1
The boss has 2 parts with the same healthpool - a head that reflects ranged physical damage, and a tail that reflects magic damage.
- Waterspout: 2 untelegraphed circular AoEs. Does ~25% HP to squishies. Targets healers first
- Grand Fall: Each use spawns multiple big, dodgeable circular AoEs. Does ~40% HP to squishies. Inflicts 30s of heavy
- Tidal Roar: Raidwide
- Tidal Wave: Special raidwide that must be mitigated with the Elemental Converter (explained below) to survive. Does true damage; tank LB does not help
Leviathan’s Head:
- Dread Tide: 3 untelegraphed circular AoEs in a line. Starts on its top enmity target, then sequentially away from it
- Aqua Breath: ~7y circular cleave. Does little damage
Leviathan’s Tail:
- Briny Mirror: 1min debuff that inflicts a 45s Briny Veil stack on others who directly heal the target. Targets its top enmity. Gets reapplied on expiry or if the target dies
- Briny Veil: Linearly reduces action range. Target cannot act at 16 stacks
- Tail Whip: ~9y circular cleave. Does ~20% HP to squishies
Wavespine Sahagin:
Cannot be stunned, but can be slowed.
- Hydro Shot: Leaves a light blue circle on the ground that inflicts an uncleansable 9s DoT (Dropsy). Starts to spam this if not killed in time
- Stun Shot: Paralyses a target for 30s. Used once in a while
Wavetooth Sahagin:
- Dreadstorm: Leaves a dark blue circle on the ground that inflicts 10s of hysteria. Immune to stuns during the castbar. Starts to spam this when <70% HP, or if not killed in time
- Deadwash: Inflicts 5s of hysteria on everyone. Used once in a while
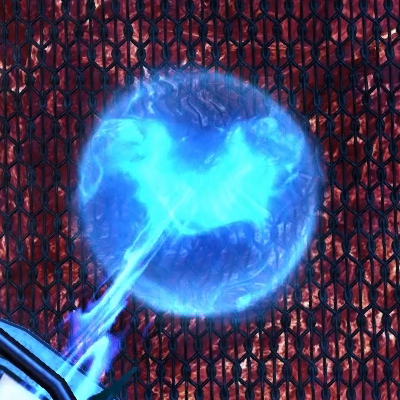
Gyre Spume:

Cannot move. Reduces charge (Elemental Conversion) while alive.
- Splash: Raidwide that happens when killed
Elemental Converter:
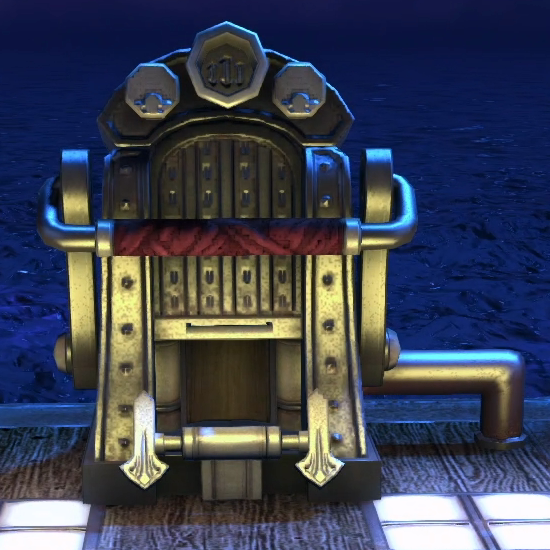
Slowly gains charge over time. Becomes operable once all Gyres are dead.
Spends charge when interacted with to create a short-lived barrier, which mitigates Tidal Wave. Higher charge improves the mitigation; at least ~24 charge is needed for the party to survive.
Phase 2
Wave Spume:
Starts tethered to the centre and reduces charge. Once aggroed, stops reducing charge and tethers to its target instead, inflicting unstackable bleeding. Does not auto-attack, but slowly follows its target.
Has almost double the health of a Gyre, but dies on its own 32s after first tethering (10s after you stop sliding from Slam).
- Aqua Burst: Proximity-based raidwide that happens on death
Water Jets
Both Slam and Dive are telegraphed by water jets:
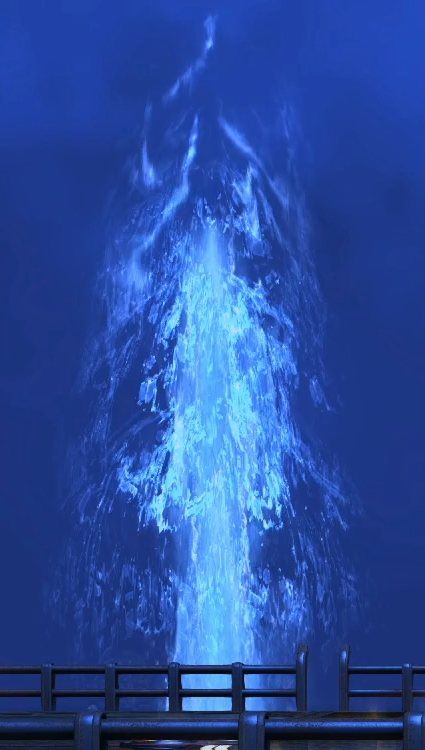
Slam has 4 possible jet locations (NE/NW/SE/SW), which is where the head will reappear from. It either knocks everyone to the north or south.
Dives have 10 possible jet locations:
- Vertically from the N or S, covering half the arena (2 N, 2 S)
- Horizontally from the E or W, covering a third of the arena (E/W, NE/NW/SE/SW)
We can put these possibilities into 2 groups:
- The north group includes 2 dives from N, 2 dives from NE/NW, and E/W central dives
- The south group includes 2 dives from S, 2 dives from SE/SW, and E/W central dives
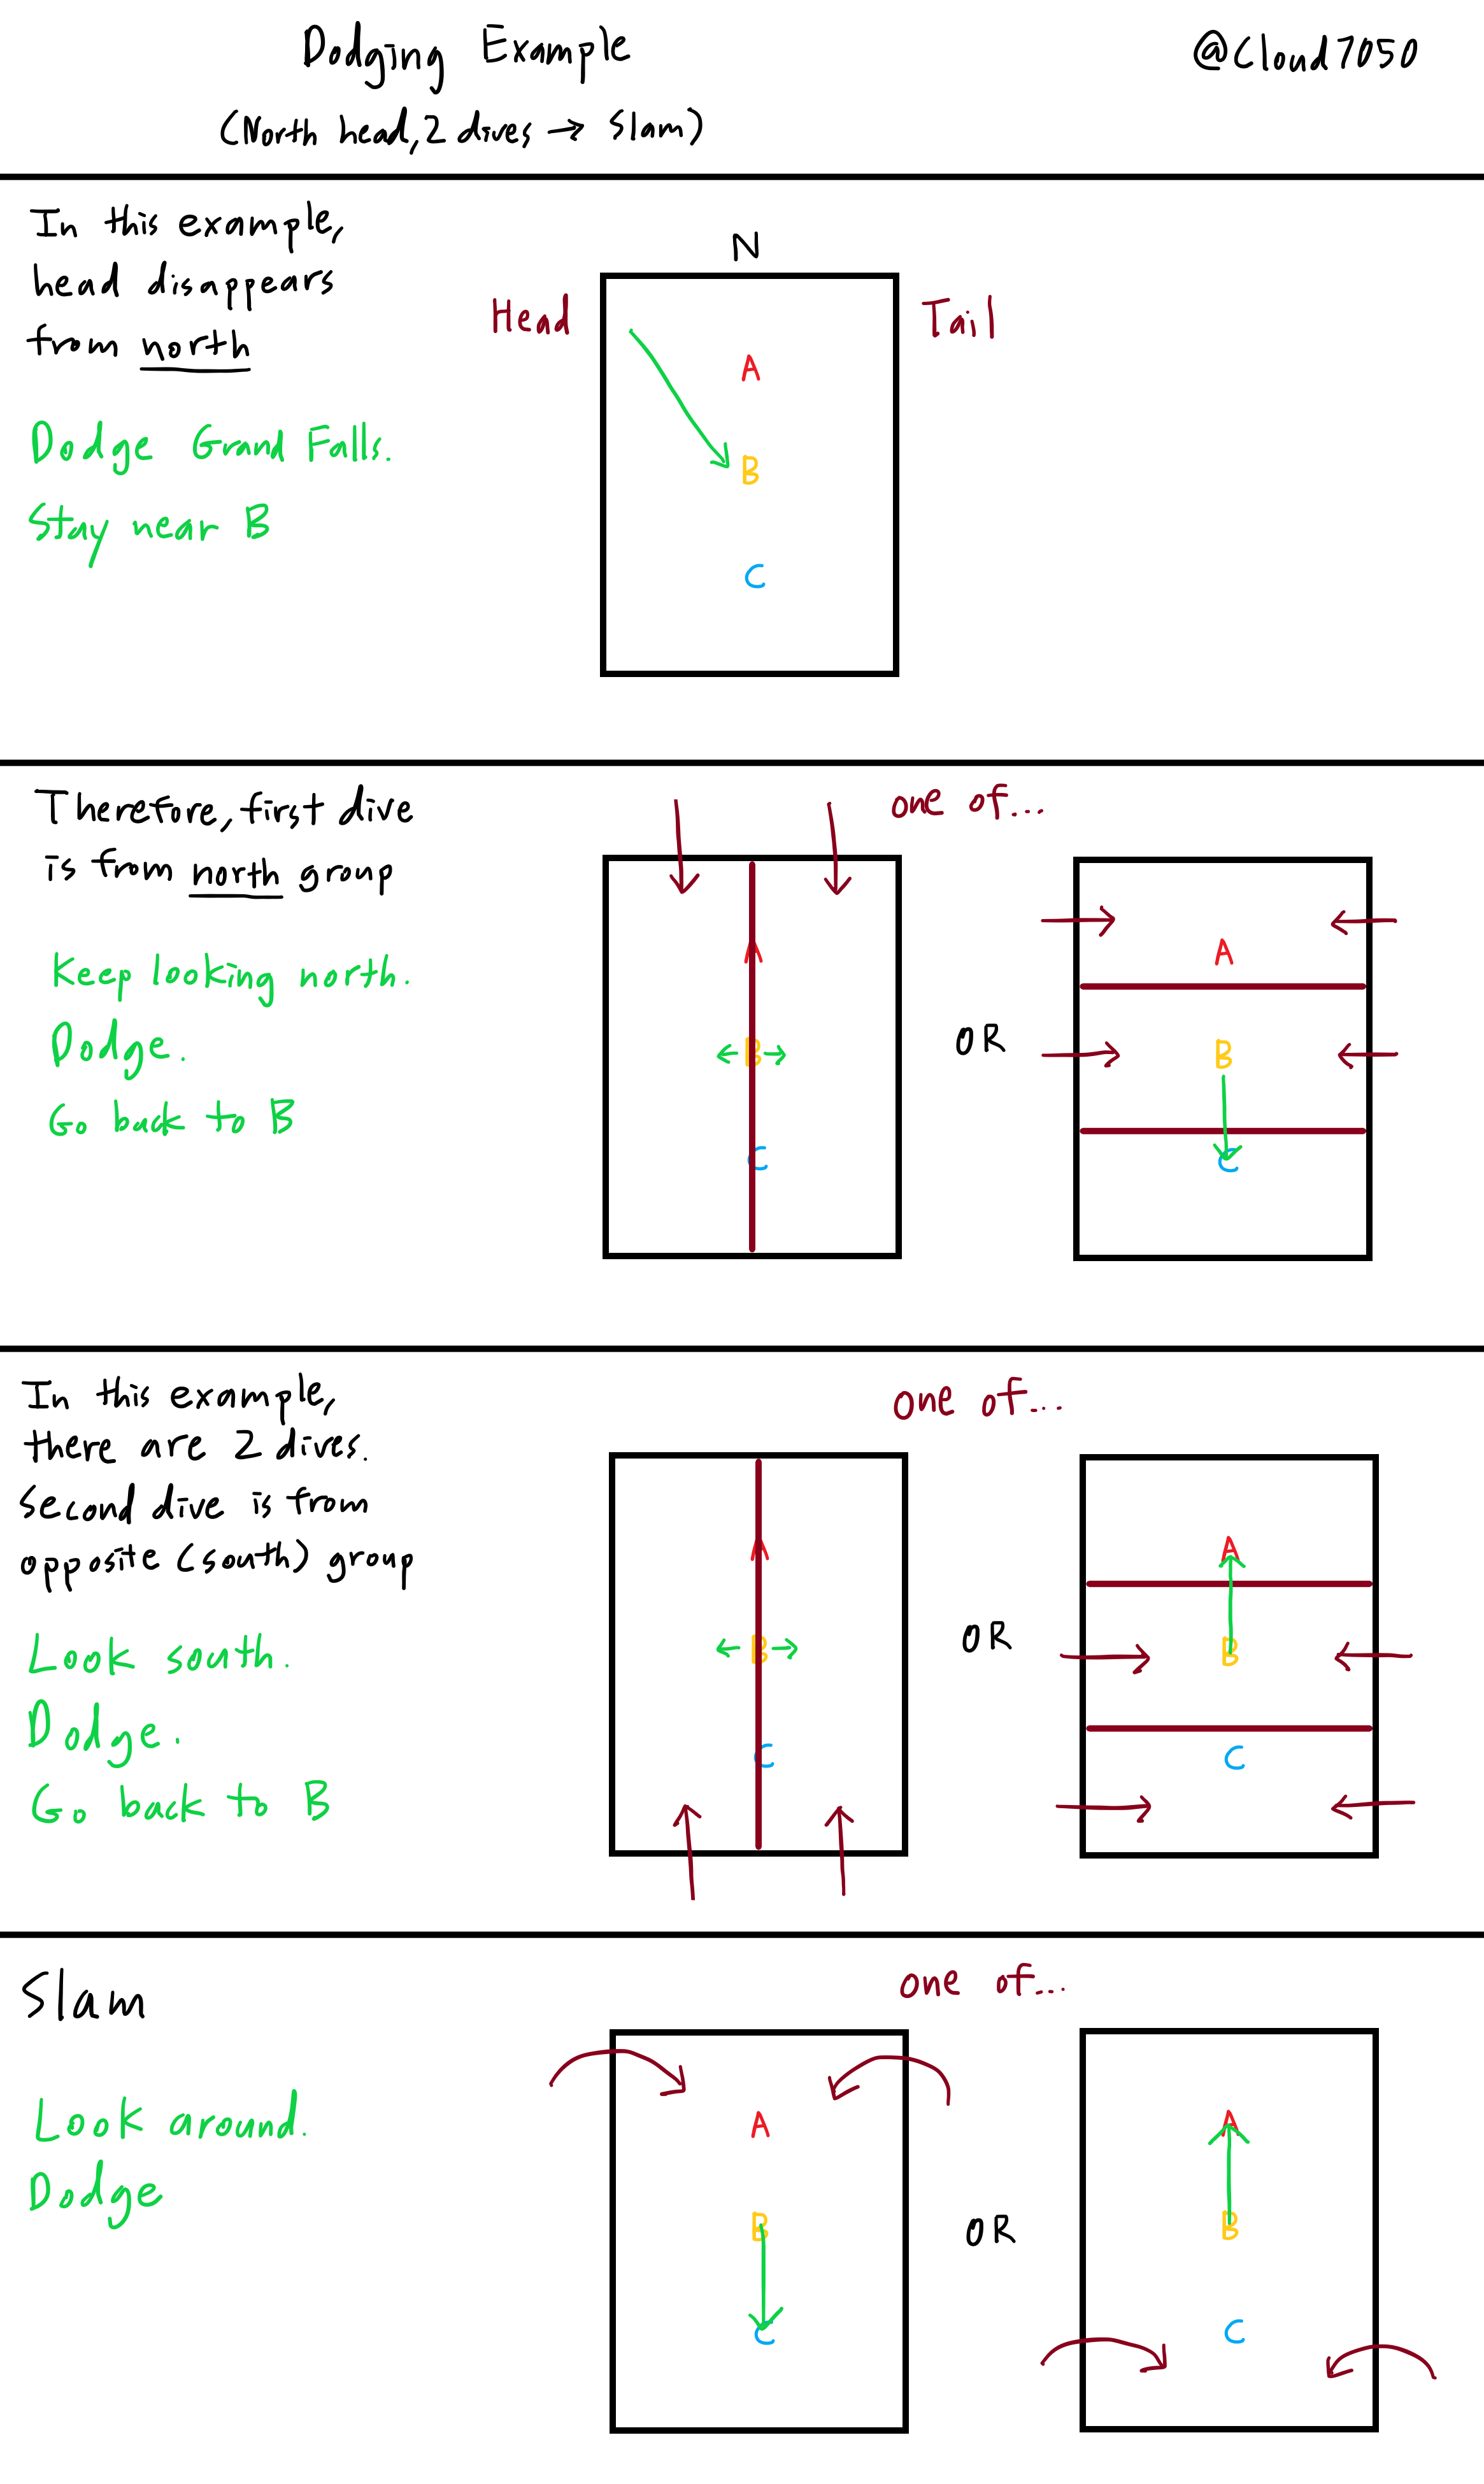
The boss usually does 2 dives. The first dive will be from the group corresponding to the side he disappeared from. The second dive will be from the opposite group.
There are exceptions where he will only do the first dive:
- When he means to end his combo with Tidal Wave, he will only do 1 vertical dive (he will not pick any horizontal dives from the corresponding group). I call this the “converter dive”
- For the combo right after Wave Spumes spawn, he will only do 1 dive
e.g. if he disappears from the north and wants to dive twice, the first dive will be from the north group and the second from the south group.
e.g. if he disappears from the south and wants to do his converter dive, it will be a vertical dive from the south.
These examples are depicted in the dodging infographics.
When
Phase 1 at <90% HP
Slam
2 N Wavespines
At <80% HP:
Briny Mirror, 1 E Wavetooth
3 Grand Falls, 2 dives
Slam
At <70% HP skip here:
4 Gyres
Tidal Roar, 3 Grand Falls, 2 dives
Slam
When Gyres dead skip here:
Grand Fall, 1 vertical dive [press converter], Tidal Wave (break railings)
Phase 2
Slam
2 Tidal Roars
2 S Wavespines
2 Tidal Roars, Grand Fall, 2 dives
Slam
At <35% HP skip here:
4 Gyres
2 Tidal Roars, 4 Wave Spumes
3 Grand Falls, 1 dive
Slam
3 Grand Falls, 1 vertical dive [press converter], Tidal Wave
Phase 3
Slam
1 W Wavetooth
2 Tidal Roars
2 Tidal Roars
3 Grand Falls, 2 dives
Slam
2 Tidal Roars
2 Tidal Roars
2 Tidal Roars, 2 N Wavespines
2 Tidal Roars
3 Grand Falls, 2 dives
How
Phase 0
- The boss doesn’t do any mechanics (he disappears at <90% HP). Save your burst for the Wavetooth later
Phase 1
- MT grabs the head. MT should always stay in the corner beside the head, to point Dread Tide outside the arena
- OT grabs the tail. OT is free to move around and grab adds
- Melees should attack the head, as the tail has the stronger cleave. Magic ranged dps and healers should also attack the head to avoid reflected damage. Similarly, physical ranged dps should attack the tail
- Healers should stay apart due to Waterspout. Others should avoid the healers, whom you may want to mark
When Wavespines spawn:
- Immediately stop attacking the boss and kill Wavespines instead
- If you skip ahead early (Wavetooth spawns at <80% HP), you’ll have to fight all 3 Sahagin at once. You likely won’t be able to kill them all before they start messing up the fight
When Wavetooth spawns:
- Similarly, immediately switch to killing Wavetooth. It’s the most dangerous and must be burnt asap
- OT should stun Wavetooth the moment it drops below 80% HP (at <70% HP, it will immediately start casting Dreadstorm, during which it is immune to stun). Melees should continue to chain stun it
- Healers need to manage their Briny Veil stacks and let them expire when the stacks get too high
- Actions that don’t heal the OT directly will not give stacks (e.g. WHM Regen, AST Synastry, SCH Embrace/Whispering Dawn)
- Regens that also directly heal alongside applying their regen buff will give stacks (e.g. WHM Medica II, AST Aspected Benefic)
- It’s a good idea to stack a lot of regens on and save big heals for the OT, to reduce the number of actions used on them. Also, doing these actions in bursts makes it easier to let stacks expire
When Gyres spawn:
- Gyres should be focused one by one. e.g. Gyre at head → Gyre at tail → Gyre opposite tail → last Gyre. If you instead spread out your damage, it’s bad because:
- Too many Gyres are alive for too long. You may not have enough charge for the converter (each reduces charge while alive)
- Killing a Gyre too soon after the previous one creates burst damage that’s harder to heal (they do a raidwide on death)
- Keep 1 Gyre alive until the boss disappears to start 2 dives, then kill it. As long as you were killing the other Gyres at a decent pace, you will have sufficient charge
- This is to prevent ambiguity. As you prog, you will reach a point where you sometimes skip to the converter dive (by killing all Gyres early). When the boss disappears, it becomes hard to tell whether he’s going to do 2 dives, or has skipped to 1 dive + Tidal Wave. Skip checks also stop a little while before he disappears, so it may look like you killed all Gyres before he left, but you can’t say for sure whether you actually skipped. Guessing wrong leads to an early/late converter press, which is a wipe, so this strat makes the fight consistent by not skipping
- Tidal Wave at the end of the phase breaks the railings. Starting from phase 2, Dives and Slams can knock you off
Phase 2
- There’s no need to conciously keep 1 Gyre alive anymore as you likely won’t be able to kill all Gyres before the boss disappears
- It’s not feasible to try killing Wave Spumes, just let them explode
- OT grabs Wave Spumes when they spawn so they don’t reduce charge. After Slam, kite them to the corner furthest from the party and pop invuln
Phase 3
- Remember to chain stun and burn the last Wavetooth asap. If too many are dead to kill it quickly, dps LB if you really must. It can easily hysteria everyone off the arena
Dodging Infographics

Other Tips
About head/tail and damage reflection:
- You can DoT both the head and tail at the same time, though actions that also directly damage alongside applying their DoT can have that reflected
- Tanks’ and melees’ ranged physical attacks will get reflected by the head
- DRK’s magic attacks will get reflected by the tail, so they should MT
- RDMs should be careful of their damage types. e.g. Fleche is ranged physical damage
- If you get a rez during dives, you should wait till after Slam to accept it, to avoid instantly falling off/dying
- Arm’s Length/Surecast negates the knockback from Slam. You can save it as a panic button if you lose track of jets and think you’re about to get knocked off
- Tanks may instead use it as extra mit for the Wavespines
- The Sahagin all spawn at fixed locations which makes them predictable to watch for. Switching to them the moment they spawn is important
- When using healer LB3, first ensure the bodies have respawned on the ship, as they are likely to get knocked off by Slam
- Don’t use it during a dive combo. Animation lock is likely to get you and those you just rezzed knocked off or killed. Also, others may still die during the combo, and bodies may be in the middle of respawning
- Healers can use Rescue to save people from falling off
- As Briny Mirror makes it costly to heal the OT, you may want to let MT grab 1 or both Wavespines instead of OT
- If healers are struggling with stacks, you may want OT to stay in the other corner similar to MT, so it’s easier for healers to AoE heal the party while avoiding OT
- The head faces towards the arena while the tail faces away. If your healers are confident, melees may instead attack the tail. They will take more damage from its cleaves, but this lets them hit rear positionals
- There is an edge case for the first dive combo of phase 2 (Grand Fall, 2 dives). If the boss is already leaving to start dives, but at the same time hits the <35% HP breakpoint, then his combo is instead a duplicate of the subsequent combo (3 Grand Falls, 1 dive)
- This should rarely happen, but if it does, you may get caught off guard by him doing just 1 dive. As per the infographics, it is safer to dodge to the other side instead of staying in the middle, even if what you think is a dive (and not a Slam) wouldn’t hit you
- As per the breakpoint skip, 4 Gyres will still spawn immediately, just that such timing feels unexpected
- After the combo, he resumes his rotation as usual (2 Tidal Roars, 4 Wave Spumes, then that 1 dive combo again etc.)